DIY Toilet Paper Planter
The warm weather is finally here! Flowers are blooming, the days are getting longer, and you can finally step outside of your house without wearing 50 extra layers of clothing (although we don’t appreciate sweating in weird places we forgot existed on our body).
Enjoy the warmer weather by making a toilet paper planter so you can fill your home with the herbs and greens your home has been lacking all winter!
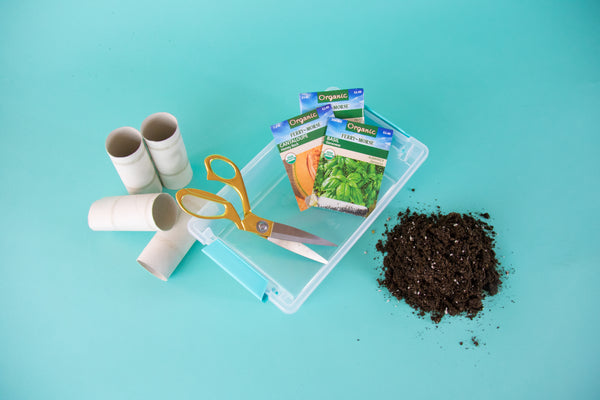
Crap you’ll need:
- Empty toilet paper rolls
- Potting soil
- Seeds of your choice
- Waterproof container to hold toilet paper rolls
- Scissors
Step No. 1
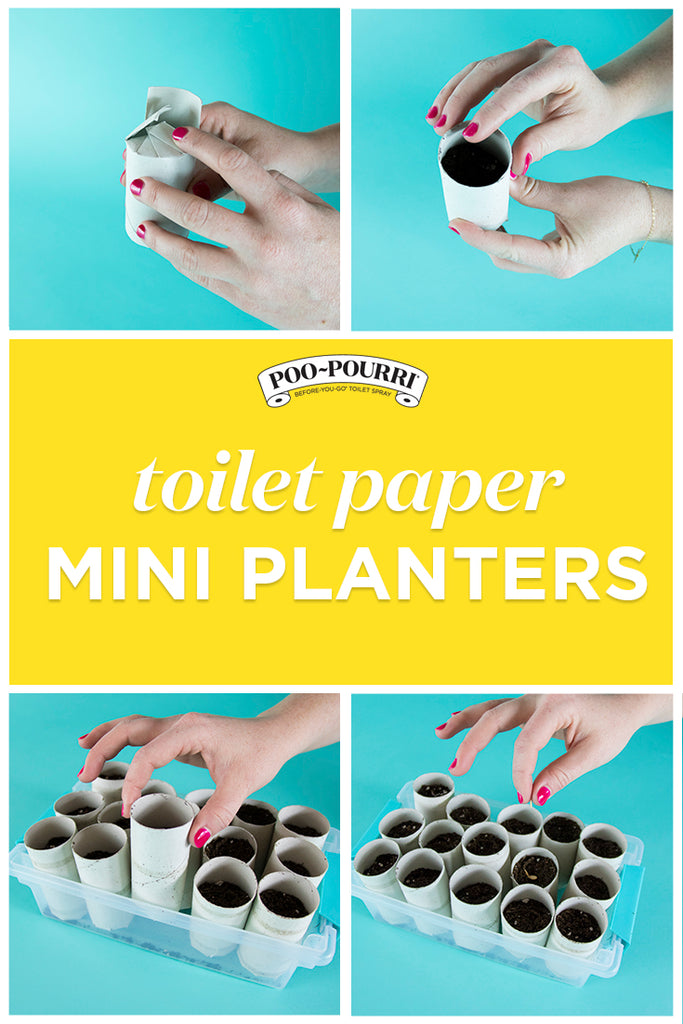
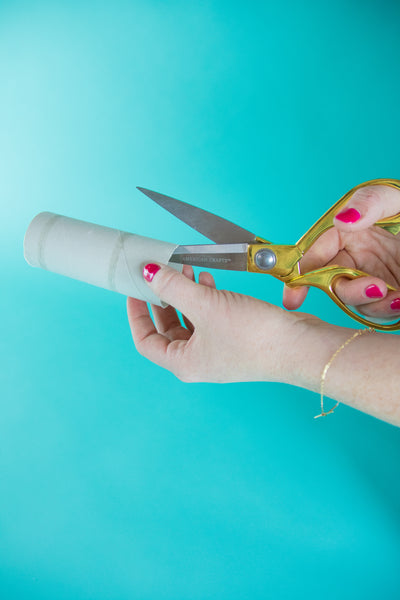
With a pair of scissors, cut evenly-sized strips all around one end of your toilet paper roll. Strips should about an inch long.
Step No. 2
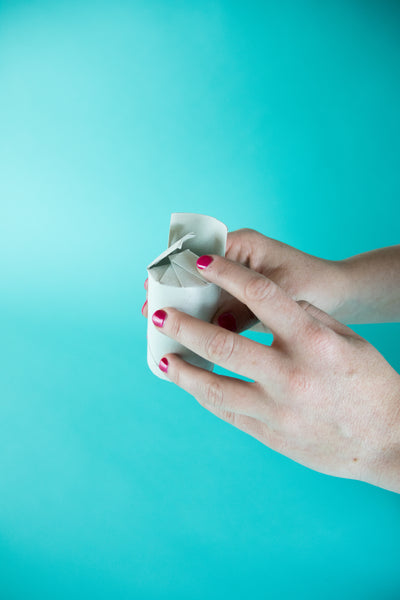
Next, fold the strips down. This will create a solid bottom to hold your soil and seeds.
Step No. 3
Place a good amount of soil inside of your toilet paper roll. You’ll want to make sure your soil is moist—yes, we know moist is a gross word. We’re cringing with you.
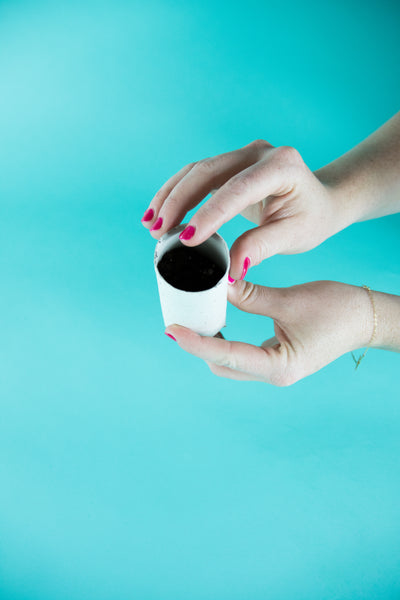
You don’t want to fill it completely, so leave a little room at the top.
Step No. 4
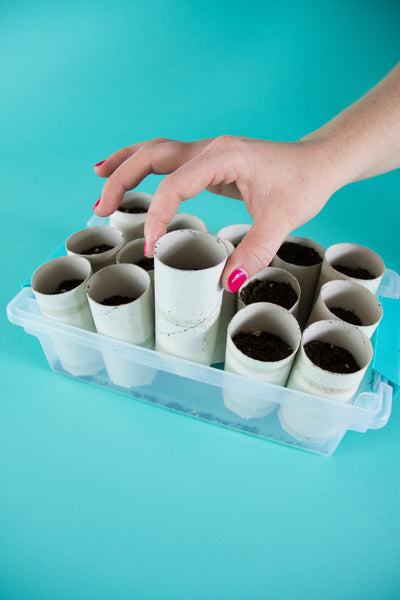
Place your toilet paper roll inside of your waterproof container.
Step No. 5
Press all the seeds into the soil, making sure they are covered.
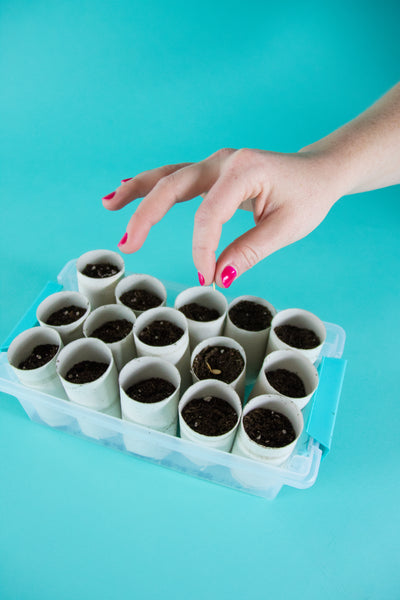
Step No. 6
Repeat this as many times as you see fit. We’re pretty ambitious and opted to fill our entire container. The more herbs and veggies, the better!
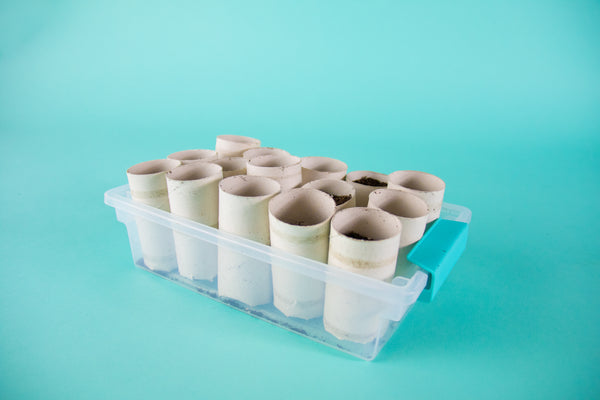
Step No. 7
Place your container in a sunny spot and water as usual. In a few days, you should have sprouts, and then you can transfer them to the container of your choice. This is the easy part—the toilet paper rolls are biodegradable, so all you have to do is plop them directly into the dirt!
Grow, baby, grow!
So, when the weather’s too dang hot to go outside, cool off with this easy toilet paper craft that keeps the kids busy and ups your cooking game—hello, fancy meals at home with homegrown herbs on top.
Happy planting!
